Why it works for weddings
DIY projects succeed with a simple workflow: templates first, a test print, then batches. The lettering carries the design, so embellishments can stay minimal.
Where to use it
Tags and labels
A short message, one embellishment.
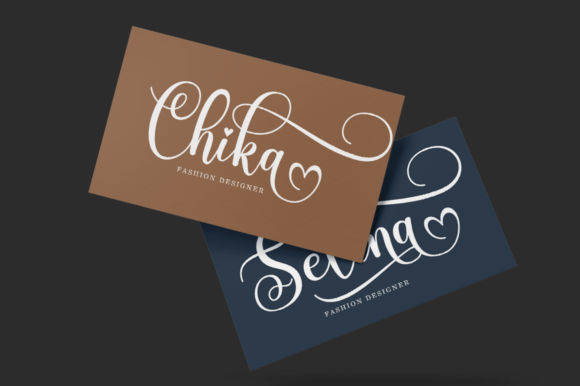
Cards
Names or a title in the font, details in plain type.
Decor signs
Wood or board with matte finishes.
Styling recipe
A starting point for a balanced layout. Adjust to your wording, and confirm with a proof.
- Pair with
- A simple serif or sans-serif
- Size
- Large for the item; test before batching
- Colour
- Kraft, cotton white, forest and clay
- Cutting
- Convert text to outlines and test one piece first
Common mistake: Layering embellishments
Choose one: twine, a stamp or a dried flower.
Questions
What paper suits beginners?
Smooth matte cardstock; move to kraft once you have tested your printer.
How many items should I make at once?
A manageable batch, keeping a finished sample as reference.
Ready to try Handmade?
Check the full glyph set, licence and previews on the product page.
View on Creative Fabrica